
Table of Contents
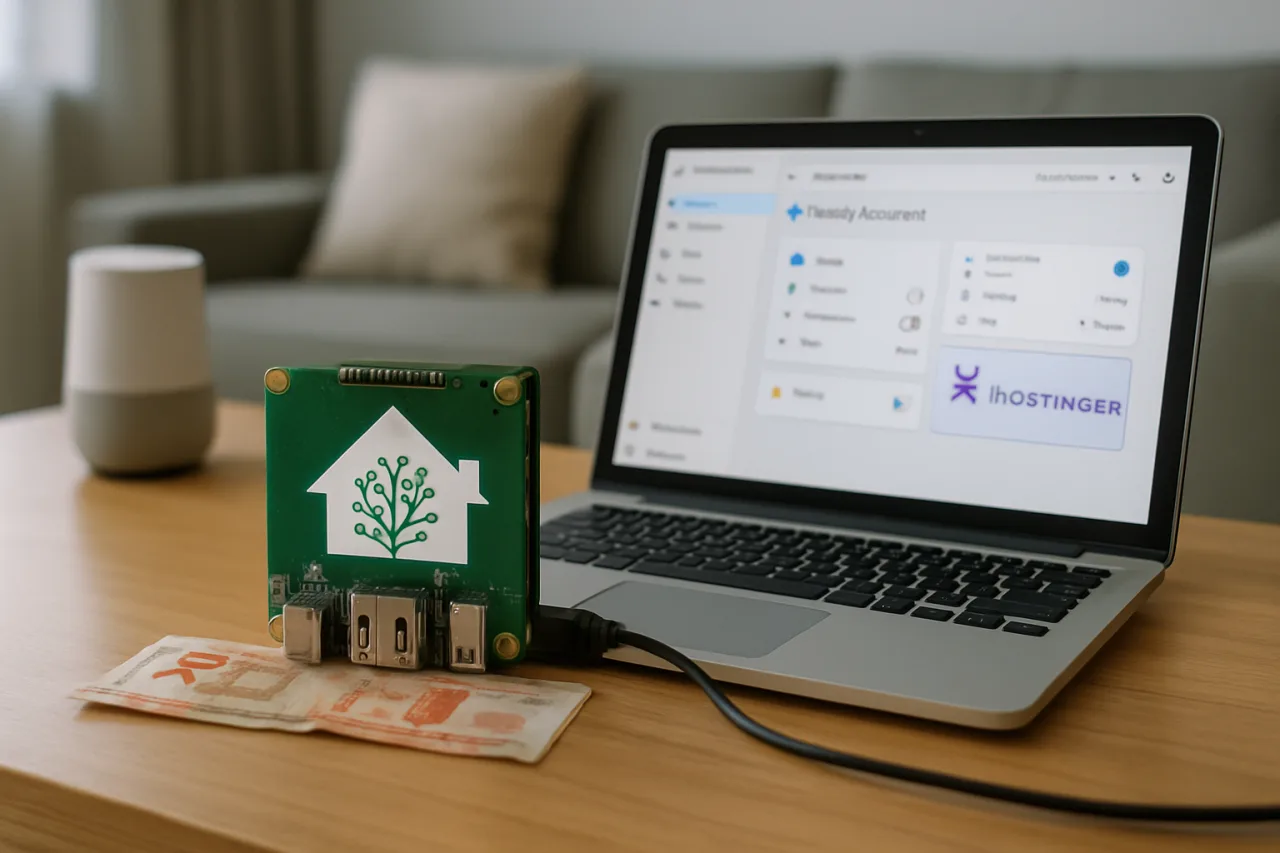
THE BOARD — Thursday, October 1, 2026 → Hostinger How-To #21: Yesterday’s voice server runs on Home Assistant — today we install the Home Assistant brain itself on a Hostinger KVM, in a browser, with two commands and a ₱380-a-month bill. 40 minutes, start to owning the hostname. | By the end of this how-to you can deploy the Home Assistant Container on a Hostinger KVM 2, onboard an owner account, and reach your dashboard from anywhere.
Related: Alex Karp AI Career Advice: The Third Path He Leaves Out
Key Takeaway
- 🧠 The brain before the voice: yesterday’s Home Assistant Voice build (₱380/mo server, zero per-request fees) sits ON a Home Assistant install — this piece installs that foundation the right way, first.
- 💻 Two paths: Hostinger’s one-click Home Assistant template (fastest) or manual Docker Compose (full control) — both verified against Hostinger’s own tutorial and the official Home Assistant Container docs.
- 📐 KVM 2 is the plan that fits: 2 vCPU / 8 GB RAM / 100 GB NVMe — enough for dashboards, history, MQTT, and the voice stack from yesterday without upgrade pressure.
- 🏠 The VPS twist: devices that need local radios (Zigbee/Z-Wave/Bluetooth) reach the brain through a bridge, MQTT broker, or VPN — the architecture decision is explained, not skipped.
- 🔒 Secure before you expose: HTTPS/tunnel first, dashboard-sharing second — the how-to ends where every real install should start.
Home Assistant on a VPS: What It Is and Why the Brain Comes First
Home Assistant is the open-source home automation platform that unifies your dashboard, automations, integrations, and history in one place — and yesterday’s voice-server build (#20) assumed it was already running. This piece installs that foundation on a Hostinger VPS so the voice experiments land on solid ground instead of a temporary install. Two deployment paths exist, and both are verified against current sources: Hostinger’s official Home Assistant Docker template (deploy from the catalog, no container work) and the manual Docker Compose route from Home Assistant’s official Linux installation documentation. Either way, the result is the same dashboard at port 8123, owned outright.
Why a VPS at all? Because the dashboard follows you. The OFW reality — managing two households, two time zones, one server bill — makes “reachable from anywhere, controlled by you alone” the exact shape needed. Local-network discovery devices still need a bridge home (covered below), but cloud-native integrations, MQTT feeds, dashboards, notifications, and automations run happily in a datacenter, and Hostinger’s template page calls out exactly this fit: dashboards, remote access, notifications, API-based integrations, MQTT, and multi-location monitoring.
What You Need Before Starting (the 5-Minute Checklist)
- A Hostinger VPS plan — KVM 2 (2 vCPU, 8 GB RAM, 100 GB NVMe, 8 TB bandwidth) is the template-page recommendation and enough for dashboard + history + MQTT + the voice stack from the ₱380/month math yesterday. Larger plans matter only for heavy camera streaming or multi-service stacking.
- Docker ready — the one-click template brings this with it; the manual route installs Docker + Docker Compose first (commands below).
- Access details — VPS IP, root or sudo SSH account, and (after install) the dashboard port 8123.
- A decision: template or manual. Template = fastest onboarding; manual = full control of the compose file (and it teaches more for later containers like the voice stack).
- Your timezone — Location drives sunrise/sunset automations. Set it right on first onboarding; Asia/Manila if you’re steering a Philippine household from Riyadh.
Path A — The One-Click Template (Fastest)
Hostinger’s catalog carries a Home Assistant Docker template — deployment provisions the VPS, installs Docker, pulls the image, and starts the container for you. The flow on Hostinger’s own tutorial:
- Open the catalog — Docker → Home Assistant template.
- Select the plan — KVM 2 is the recommended tier on the template page.
- Deploy — click Deploy, follow the VPS activation flow, wait for both VPS and Application status to show running. This replaces pulling the image, writing the compose file, and starting the container manually.
- Open the dashboard —
http://YOUR-VPS-IP:8123(port 8123 is the standard web interface). - Onboard — owner account, location, timezone, unit system. Then add your first cloud-friendly integrations and build one test automation.
When the template path fits (solo user, one server, dashboard-first priorities), it is the fastest legitimate route to a working brain. When you want the container skills for the stack that follows (voice, MQTT, Zigbee bridges), do Path B once and learn the layout.
Path B — Manual Docker Compose (Full Control, ~20 Minutes)
Path B runs on any clean VPS with Docker installed. The commands follow Home Assistant’s official Linux docs and Hostinger’s tutorial page:
# 1. Docker + Compose (Ubuntu) — skip if using the template
sudo apt update && sudo apt install -y docker.io docker-compose-plugin
docker --version && docker compose version

# 2. Create the directory structure
mkdir -p /opt/homeassistant/config && cd /opt/homeassistant

# 3. Create docker-compose.yml
nano docker-compose.yml
# docker-compose.yml — Home Assistant Container (official image)
services:
homeassistant:
container_name: homeassistant
image: "ghcr.io/home-assistant/home-assistant:stable"
volumes:
- ./config:/config
- /etc/localtime:/etc/localtime:ro
environment:
- TZ=Asia/Manila
restart: unless-stopped
privileged: true
network_mode: host# 4. Start it
docker compose up -d
# 5. Watch it come up (Ctrl+C exits logs without stopping)
docker logs -f homeassistantNotes pulled straight from the official container docs: network_mode: host is the documented pattern for the Home Assistant Container (discovery and service integrations expect it); persistent state lives in ./config, so container upgrades never eat your automations; and the TZ environment line sets the server’s clock behavior for schedule-based automations. First start takes a few minutes while integrations register — the log tells you when the dashboard is ready.
Open the dashboard: http://YOUR-VPS-IP:8123 — onboarding walks owner account, location, timezone, and unit system, exactly as with the template path. If the page doesn’t load, the three checks from Hostinger’s tutorial are: firewall/csf allowing 8123, container actually running (docker ps), and Docker started cleanly (docker compose version).
The VPS Twist — When Your Devices Are Home and Your Brain Is Abroad
A VPS-based Home Assistant is reachable-from-everywhere by design, but devices that depend on local network discovery, Zigbee, Z-Wave, or Bluetooth can’t hear the brain across the planet. The architecture answer is a three-piece hybrid, and it’s the pattern every serious VPS install converges on:
- Cloud integrations connect directly — anything with an internet-facing API (weather, energy monitors with cloud sync, HA companion apps) pairs with the VPS install with nothing extra.
- MQTT carries the radio traffic — a local broker (or one on this same VPS) forwards device data between home sensors and the VPS brain; the Hostinger tutorial names MQTT as the standard bridge for exactly this.
- A VPN or secure tunnel closes the loop — a small box at home (even the ₱380 server from yesterday) tunnels into the VPS, so the brain can talk to the house and the house can reach the brain without exposing either to the public internet.
This is why yesterday’s voice-server piece and today’s foundation piece belong to one arc: the ₱380 KVM can eventually run BOTH the brain (today) and the local bridge side — the pattern the #19 Matrix build and the voice server already demonstrated (later MQTT/Zigbee expansion), or the pair splits across two cheap nodes. The budget math stays in the ₱380-per-month band either way.
Secure the Dashboard BEFORE You Share It
The tutorial page’s own warning lands as the closing rule: secure remote access before relying on Home Assistant outside the home network — HTTPS, firewall rules, a VPN, or a private tunnel. The order matters: 8123 exposed raw to the internet is the exact opposite of private automation. Do these in sequence before the first remote login from the family phone:
- Tunnel first: a reverse proxy with HTTPS (Caddy/Nginx Proxy Manager on the same VPS) or a private tunnel (Tailscale/Cloudflare) instead of a bare port-open. Both approaches are in Home Assistant’s own remote-access docs.
- Firewall after: 8123 never open to 0.0.0.0/0 — allow only the tunnel source.
- Password manager for onboarding credentials: the owner account is the kingdom’s front door — that login goes in the vault, not the browser’s memory.
- Backup before the first real automation: Home Assistant’s built-in backup (or the config folder itself) at every milestone — config is the entire brain in one directory, which is also why the VPS migration path is just “tar the folder.”
What To Do the First Hour After Onboarding
Verified order from the docs (and how the voice stack from yesterday expects to find things):
- Add one integration with a mobile app (companion app on the family phone) — instant dashboard data, zero hardware.
- Create your first room dashboard — lights, sensors, energy. Hostinger’s tutorial’s advice holds: security sensors and thermostat cards first, decoration later.
- Build one automation and test it — trigger, condition, action; the docs recommend starting with a notification when a door opens, a sunrise-driven light, or a schedule-driven plug.
- Set up MQTT (if voice/sensors are coming) — broker on this VPS or at home; this is the hook yesterday’s voice server uses.
- Snapshot the config — Settings → System → Backups (or tar ./config over SSH) the same hour. Backups are the true migration path to ever-bigger KVM plans later.
The Cost Ledger — What This Brain Adds to the Stack
- One VPS, KVM 2 tier: the ₱380/month figure from yesterday’s voice piece covers it — the template page’s recommended plan (2 vCPU / 8 GB / 100 GB NVMe / 8 TB bandwidth) IS that tier; nothing else to buy.
- Voice (from #20): Whisper + Piper + openWakeWord, all local, zero per-request fees — the stack lands ON this install.
- Bridge hardware later (optional): a Zigbee USB coordinator at home or a local broker box — one-time peso costs, not monthly.
- Savings math: versus a cloud-assistant household paying per-request, the self-hosted brain amortizes in months; versus renting a “smart home VPS” service, you own the config folder and can leave anytime. The exit is the asset: tar the config, redeploy anywhere.
The troubleshooting block deserves its own paragraph, because VPS installs fail in the same three places every time and the fixes are one-line each. Dashboard won’t load: check the container is actually up (docker ps shows homeassistant with the 8123 mapping in host mode), the VPS firewall allows 8123 (Hostinger’s panel + ufw status locally), and the integration registers cleanly in the log — the tutorial’s three-check trio. Onboarding loops or the location resets: the TZ environment line and /etc/localtime mount disagree — pick Asia/Manila in the compose file, restart, and the sunrise/sunset automations behave. Integrations that need local discovery hang: that is not a bug — the VPS brain can’t hear your LAN; jump to the MQTT/bridge pattern above rather than fighting the install. Each failure maps to an architecture lesson the docs assume, and the three together cover the vast majority of first-install pain points Filipino builders hit on their first night.
The upgrade path finishes the arc: when the stack grows beyond KVM 2 (camera feeds, long history retention, or a second service stacking on the same node), the migration is a tar of ./config from the old VPS, redeploy the template or compose file on the bigger plan, untar, docker compose up -d — your entire brain moves in one archive file. That portability IS the self-hosted advantage: no migration fees, no platform lock-in, no “export your automations” tooling missing. And the Home Assistant community keeps integration quality high precisely because the config folder stays open-standard — the same ownership logic that made yesterday’s voice stack worth building at all.
Frequently Asked Questions
Can I run Home Assistant Container on a Hostinger KVM?
Yes — two verified paths: the one-click Home Assistant Docker template from Hostinger’s VPS catalog (recommended plan KVM 2 — 2 vCPU, 8 GB RAM, 100 GB NVMe, 8 TB bandwidth), or manual Docker Compose from Home Assistant’s official Linux docs on any Hostinger VPS plan. Both land the same dashboard on port 8123.
Do Zigbee or Z-Wave devices work with a VPS-hosted Home Assistant?
Not directly — the VPS is outside your home radio’s range. The working pattern: a local Zigbee/Z-Wave bridge or MQTT broker at home forwards device data to the VPS brain (often through a VPN). Cloud-connected integrations pair directly with no extra hardware.
Why use network_mode: host for the container?
It’s the Home Assistant official container documentation’s own pattern — host networking lets discovery and service integrations behave as expected, and it avoids port-mapping surprises. Persistent state lives in the mapped ./config folder, so container recreation never loses your automations.
How do I update Home Assistant on the VPS?
Manual route: docker compose pull && docker compose up -d — the container recreates while your dashboards, automations, and users stay in ./config. Back up the folder first if real devices hang off your automations. Template route: redeploy/check for updates in the Hostinger panel flow.
Is exposing port 8123 to the internet safe?
No — never raw. Secure remote access first (HTTPS reverse proxy or a private tunnel), keep the firewall closed to the public, and put the owner credentials in a password manager. That matches both Home Assistant’s remote-access guidance and Hostinger’s own tutorial warning.
Financial Disclaimer: This article is technical education, not investment or purchase advice. Pricing figures reflect vendor pages at publication (October 2026) and change without notice; verify current plans on Hostinger and Home Assistant official pages before purchasing. WorldNgayon may earn a commission from provider links at no additional cost to readers. Read our full site disclaimer page.