

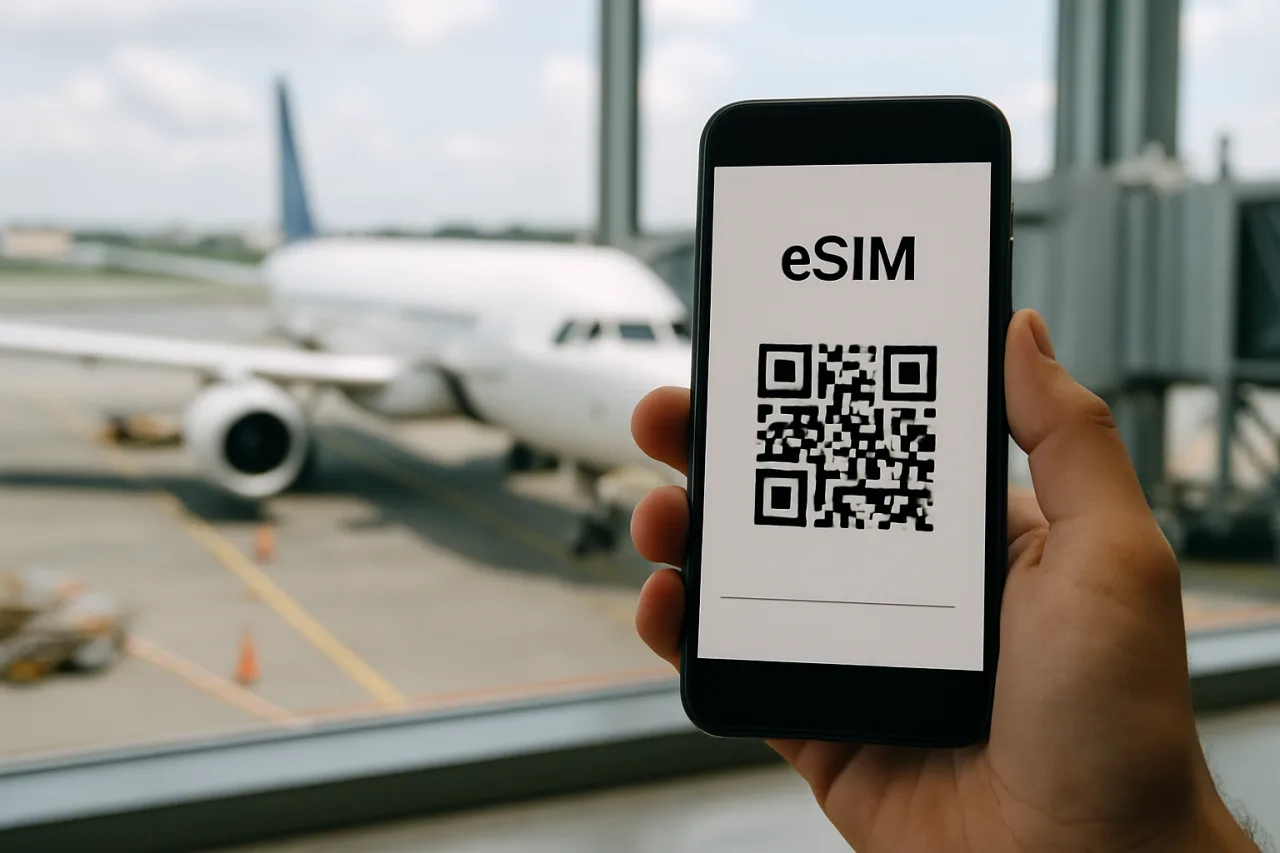
Key Takeaway
- 📶 A travel eSIM replaces airport SIM-hunting entirely: buy the data plan online before your flight, scan the QR code at the gate, and your phone lands connected — setup genuinely takes under two minutes per trip.
- 💸 The savings are real and repeatable: international roaming on Philippine carriers bills ₱2,000-5,000+ per trip in data charges, while a destination eSIM runs $5-25 — the ₱5,000-per-trip saving is the honest average for a data-using traveler.
- 🌍 The 2026 provider field: Airalo, Saily (NordVPN’s travel brand, from $8.99/1GB/7d), Holafly (unlimited plans), Nomad, Jetpac (15GB Philippines ~$22) and MobiMatter’s marketplace — coverage, prices and fairness differ meaningfully per destination.
- ⚠️ The traps to skip: “unlimited” plans with hidden daily caps, eSIMs that don’t include a local number (OTP-dependent apps break), and airport kiosk prices that double the online rate.
- 🇵🇭 The OFW angle: your PH number must stay alive for banks and family — a travel eSIM runs ALONGSIDE your Philippine SIM (dual-SIM), keeping the local number receiving calls while the eSIM carries the data.
The most expensive data you will ever buy is the data you buy at the airport: roaming packs billed in ₱50-per-megabyte slices, kiosk SIMs priced at double the street rate, or the silent horror of a phone quietly roaming on a “partner network.” The travel eSIM ended that economy in 2026 — a digital SIM you buy online before the flight, activate in under two minutes, and swap per destination, at prices that make roaming charges look like the scam they are. This guide walks the setup (done at home, not at the gate), the honest comparison of the main providers, the data math per destination type, the OTP-and-local-number problem every OFW and OFW-bound traveler must solve, and the traps that separate the good plans from the fine-printed ones.
Table of Contents
What a Travel eSIM Is — and Why Your SIM Card Lost
A travel eSIM is a SIM that exists as software: instead of inserting a plastic chip, you scan a QR code and your phone downloads a carrier profile onto the eSIM chip Apple and Samsung have built into every phone since 2018’s flagships and most mid-rangers since 2023. The economics explain the migration: traditional roaming means your Philippine carrier charges you its international partner rates (₱2,000-5,000 per trip for casual data use, per the roaming packs Globe and Smart sell), while an eSIM buys data directly from a local carrier at local prices, resold through an app with a small margin — a 7-day, 1GB plan for a regional trip runs $5-9, and unlimited-style plans for data-heavy weeks run $20-40. The convenience advantage compounds the price advantage: no airport counter, no passport-and-cash line, no physical SIM to lose (the death of your only SIM while abroad is its own emergency), no return-home swap. The SIM card had twenty good years. The travel eSIM simply does its job cheaper and faster.
Step 1: Buy Before You Fly — the 90-Second Setup
The setup’s golden rule: do it at home on wifi, not at the foreign airport on nothing. The flow: pick your provider and plan (Step 2), pay online, receive the QR code by email or app, and scan it — Settings → Cellular → Add eSIM on iPhone, Settings → Network → SIM manager on Android. The activation trick first-timers miss: the eSIM installs NOW but only activates when you land (most providers’ plans start on first network connection abroad), so the right time to install is the night before the flight — and the phone should be set to prefer the eSIM for data while your home SIM handles calls and texts. At the gate, airplane mode off on landing, the eSIM registers on the local network in under a minute, and the phone is online before the cabin crew finishes their announcement. The 90-second claim in this guide’s title is the install-plus-activate time; the “buy before you fly” habit is what actually protects the trip — because the traveler installing at the arrivals hall is competing for kiosk queues while you’re already hailing the ride.
Step 2: the Provider Field — Who’s Who in 2026
The provider field divides into three shapes, and the honest comparison matters more than any single brand. Specialist eSIM brands: Airalo (the category’s biggest, broadest destination coverage, wallet-based), Saily (NordVPN’s travel brand, consistently among the cheapest — the comparison data shows $8.99 for 1GB/7-day plans and ~$56.99 for 10GB/180-day), Nomad and Holafly (the unlimited-data specialist, whose plans suit heavy users at a premium). Marketplaces like MobiMatter aggregate carrier plans across countries, often beating the brands’ own prices on specific destinations. Local-carrier eSIMs: bought directly from the destination’s carrier (in the Philippines: Globe’s and Smart’s tourist eSIMs) — usually the cheapest per GB for longer stays, with the friction of local registration rules. For the Philippines-bound traveler, Traveltomtom’s 2026 testing rates Jetpac (15GB ~$22) and Saily among the best inbound options. The comparison habit that saves money: check TWO aggregators for your specific destination and dates before choosing — the price spread between providers on the same country can exceed 50%, and “best” is destination-specific in this market.
Step 3: the Data Math — How Much You Actually Need
The overspend pattern: travelers buy 10GB for a week and use 3. The honest math by traveler type: the navigator (maps, ride-hailing, messaging, light browsing) uses 150-300MB per day — a 2GB/7-day plan ($5-9) covers a city trip comfortably; the sharer (adds video calls and social video) runs 500MB-1GB daily — 5GB/week is the honest size; the streamer (Netflix at the hotel, hotspot for a laptop) needs the unlimited tier or 10GB+, where Holafly’s unlimited plans ($40+/week) or 10-20GB regional packs ($20-40) price in. Two multipliers change the math: hotspot use (tethering a laptop doubles consumption instantly — check whether the plan allows tethering, some restrict it) and the offline habit — downloading maps and media on hotel wifi shrinks everything by a third. The travel eSIM market’s real skill gap is this estimation: buy the plan for the trip you actually take, and the top-up options (most brands sell top-ups in-app) cover the surprises cheaper than over-buying at purchase time.
Step 4: the OFW Problem — Keeping Your PH Number Alive
The setup detail that matters most for Filipino travelers: your Philippine SIM must stay reachable, because your banks (BPI, BDO, GCash security codes), government services and family send OTPs to that number — and roaming it for data would be bankruptcy. The dual-SIM configuration solves it: PH physical SIM stays in slot one (roaming ON for SMS/calls, data OFF), the travel eSIM in the eSIM slot carries all data. Settings → set data to the eSIM, calls to the PH SIM, and turn OFF “allow cellular data switching” so the phone never silently consumes roaming data. The number-alive rule for OFWs on longer absences: Philippine prepaid SIMs expire after 180 days of inactivity under the SIM Registration Act’s loading requirement — a ₱50-100 load every few months keeps the number registered and alive; the OTP problem is solved in advance, not discovered at a bank screen abroad. One extra OFW-specific note: the eSIM route also removes the “borrow a SIM for the airport” chore entirely — your phone lands connected, and your family’s Viber call connects before immigration does.
Step 5: the Traps — Hidden Caps, Missing Numbers and Kiosks
The five traps that separate good plans from refund regrets. Trap one — “unlimited” with caps: several unlimited plans throttle to unusable speeds after a daily cap (2GB/day is the common one) — the fair-use policy is the document that tells you; read it before buying, not after. Trap two — no local number: most travel eSIMs are data-only; your ride-hailing and booking apps that verify by local SMS won’t work — plan for OTP needs through your home SIM or app-based verification. Trap three — kiosk premiums: airport eSIM kiosks sell the same plans 30-100% above online prices; the kiosk exists for people who didn’t read this guide. Trap four — destination mismatches: regional plans that EXCLUDE the country you’re visiting (the fine print lists them) — verify your destination is in the coverage list, not the brand’s map art. Trap five — refund policies: plans that failed to activate are often non-refundable; the established brands (Airalo, Saily, Holafly) process failure refunds, the marketplace no-names vary — another reason the two-brand comparison habit pays. The travel eSIM market is genuinely consumer-friendly at its best; these five traps are where it isn’t.
Frequently Asked Questions
What is a travel eSIM?
A downloadable SIM profile for your phone’s built-in eSIM chip: buy a data plan online for your destination, scan the QR code, and your phone activates the plan when you land — no plastic SIM, no airport counter, no roaming charges. It runs alongside your home SIM (dual-SIM), which is why your Philippine number keeps receiving calls and OTPs while the eSIM carries the data.
How much data do I need for a 7-day trip?
Navigator-style use (maps, messaging, ride-hailing, browsing): 2GB covers a week comfortably at 150-300MB/day. Sharing video calls and social video: 5GB. Streaming and hotspot work: 10GB+ or an unlimited plan. The honest method: check last trip’s actual usage in your phone’s settings, add 30% headroom, buy that size — over-buying is the most common paid mistake.
Which eSIM provider is best in 2026?
Price-per-destination varies more than brands: Airalo for coverage breadth, Saily for consistently low prices ($8.99/1GB/7d class), Holafly for unlimited needs, Nomad and MobiMatter for marketplace deals on specific countries, Jetpac rated best for Philippines-bound travelers (15GB ~$22). The comparison habit: check two aggregators for your exact destination and dates before buying — spreads between providers exceed 50% per destination.
Can I keep my Philippine number active with an eSIM?
Yes — that’s the dual-SIM setup every OFW and traveler should run: PH SIM in the physical slot (roaming enabled for SMS/calls only, data OFF), travel eSIM in the eSIM slot carrying data. Keep the PH SIM loaded and registered (a small load every few months preserves it under the SIM Registration Act), and set your phone’s default data line to the eSIM so roaming data never bills you silently.
Do eSIMs work in every phone?
Most phones from 2019 onward support eSIMs: iPhones from XS/XR onward, Samsung S20-series onward, most Google Pixels, and recent mid-rangers from realme, Xiaomi and vivo (Philippine models vary — check Settings for “Add eSIM” or “Add mobile plan”). Older budget phones and some PH-market variants are physical-SIM only — verify before buying a plan, since unused eSIM plans are often non-refundable.
How much money does a travel eSIM actually save?
The honest math: Philippine carrier roaming packs run ₱800-5,000 per trip depending on usage, and airport kiosk SIMs price 30-100% above street rates — while equivalent destination eSIMs run $5-25 (₱280-1,400). For a data-using traveler, the saving is ₱1,000-4,000 per trip, and the ₱5,000 figure in this guide’s title is the realistic ceiling on a data-heavy week that would have roamed. The savings compound across the two-to-four trips a year that OFW and diaspora families actually take.
Final Word: Land Connected, Every Time
The travel eSIM is the rare travel upgrade that costs minutes and saves thousands: two minutes of setup at home replaces the airport SIM counter, the roaming dread and the offline first hour abroad. The discipline it rewards is the one every guide on this site teaches — verify before you pay (coverage list, fair-use policy, refund terms), keep the home number alive for the OTPs that guard your money, and buy the data size your actual usage demands. Your SIM card served you for a decade. The eSIM serves you better, and it’s already in your phone. Land connected.